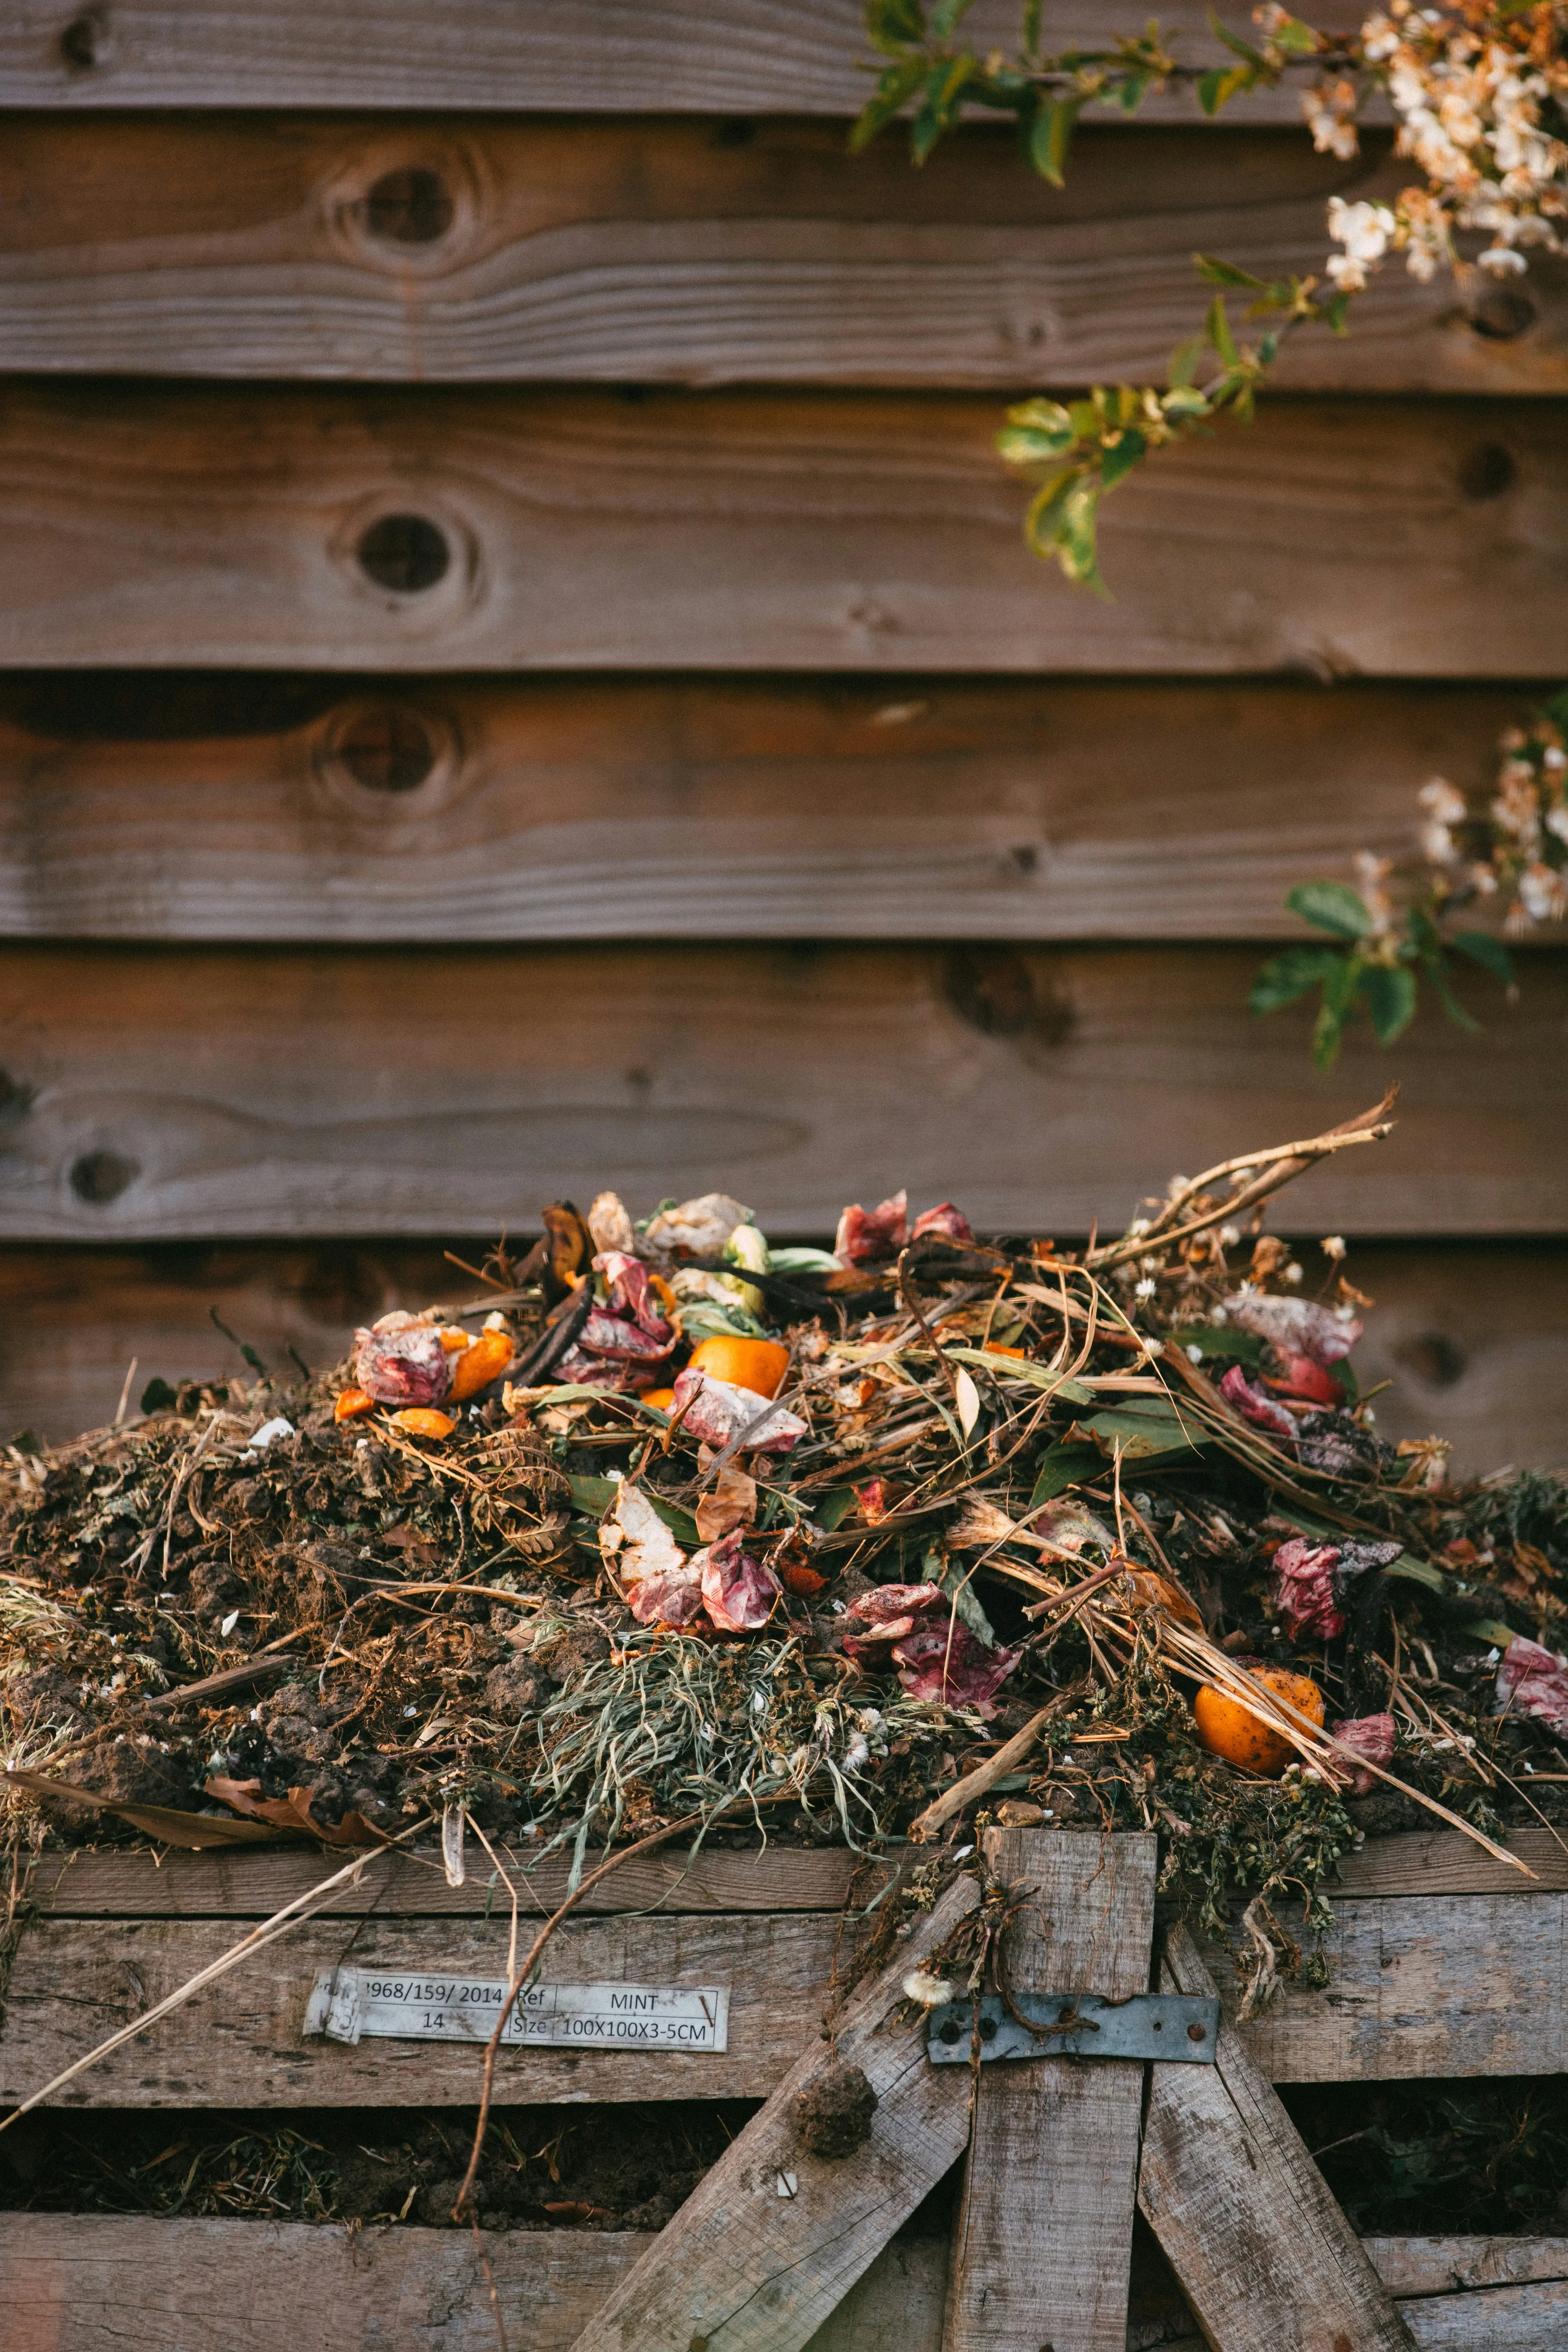
Every garden produces waste that could become compost, and every garden benefits from having it back. The process is simple biology: organic matter decomposes, and what remains is a dark, crumbly material that improves almost every growing situation. Compost builds soil structure, feeds the microorganisms that keep soil healthy, helps sandy ground retain moisture, and slowly releases the nutrients that crops have taken out.
Start with a basic cold heap and you can have usable compost without any particular effort. Add some attention and a bit more management and a hot heap can give you finished compost in as little as six weeks. Either way, the raw material is free, the process is straightforward, and the result is better than anything you can buy.
According to Suffolk Recycling, each Suffolk household could compost around 150 kg of organic material per year at home. More than a third of what currently goes into the average household’s rubbish bin could be composted instead.
What actually happens in the bin
Decomposition is driven by microorganisms, mainly bacteria and fungi, that break organic material down into stable compounds. In a cold heap these are mostly mesophilic bacteria, which are active between around 10 and 45°C, alongside fungi and later on earthworms. In a hot, well-managed heap, thermophilic bacteria take over as temperatures climb above 45°C, working rapidly up to around 60°C.
Above 60°C most microorganisms start to die off and the process slows, so the target zone for an active hot heap is between 40 and 65°C. Heap temperatures in this range also kill the majority of weed seeds and plant pathogens that would otherwise survive in a cold heap and cause problems when the finished compost is spread on beds.
The distinction that matters most in day-to-day composting is between aerobic and anaerobic decomposition. When a heap has enough air, decomposition is aerobic: efficient, relatively fast, and largely odour-free. When air is excluded, it becomes anaerobic: slower, smellier, and far less useful. The vast majority of compost problems come down to anaerobic conditions caused by too much moisture, too many wet greens added in one go, or a heap that has become compacted and airless.
Two approaches: cold and hot composting
Cold composting
Add material as it becomes available, maintain a rough balance of browns and greens, and leave the heap largely to get on with it. This is the most common approach for garden compost bins and requires the least attention. Finished compost takes one to two years. Turning the heap once or twice a year speeds things up and prevents the outer layers from stalling, but it is not essential.
Hot composting
Hot composting requires a larger heap (at least 1 cubic metre, roughly 1 m × 1 m × 1 m), the right balance of materials, and regular turning, typically every three to five days during the active phase. With careful management, finished compost is ready in as little as six weeks of active decomposition, followed by a further four to six weeks of curing, where the heap is left undisturbed to stabilise. The curing stage is important: freshly finished hot compost can still be biologically active in ways that are not ideal for direct use around plants.
The critical minimum size of 1 cubic metre is not arbitrary. A smaller heap loses heat faster than the microbes can generate it, so temperatures never climb high enough for thermophilic bacteria to take over.
Hot composting requires more management than cold, but it produces better-quality finished compost more quickly and reliably kills off weed seeds and common plant diseases including potato blight spores and clubroot.
Where to put your bin
Place the bin directly on bare soil wherever possible. Worms and other soil organisms need to be able to enter from below, and natural drainage through the base keeps the heap from waterlogging. If you have no bare soil available and the bin has to sit on concrete or paving, add a 10 cm base layer of existing compost or damp garden soil first to introduce microorganisms and give worms a way in.
- Partial shade is fine. Full shade slows decomposition slightly; full sun can dry the heap out in summer, requiring more watering.
- Level, well-drained ground. A sloping site causes water to pool and the heap to become unevenly wet.
- Close to the garden. The closer to the beds the better: you will use finished compost far more regularly if it is within easy reach.
- Room to work. Leave enough space around the bin to stand comfortably with a fork and turn the contents, and to wheel a barrow alongside when compost is ready. Bins that are awkward to access tend not to get used.
Begin a new heap by laying a base of scrunched-up cardboard or coarse woody material. This creates air pockets from the start and gives the heap structure while it builds up.
Greens and browns: getting the balance right
Every material you add to a compost heap falls into one of two categories. Greens are nitrogen-rich: they fuel microbial activity and drive decomposition. Browns are carbon-rich: they provide structure, absorb excess moisture, and prevent the heap going slimy and airless. Both are essential. A heap with too many greens and not enough browns becomes a wet, smelly, compacted mass. A heap with too many browns and not enough greens sits inert for months, too dry and nitrogen-poor for microbes to work effectively.
The RHS recommends a carbon-to-nitrogen ratio of approximately 30:1, which in practice means roughly two to three parts brown material to one part green by volume. You do not need to measure precisely, but the principle of mixing every nitrogen-rich addition with a larger quantity of carbon-rich material is worth keeping in mind every time you add to the heap.
Good greens to add
- Vegetable and fruit peelings and trimmings
- Grass clippings (never in thick layers on their own; always mixed with browns)
- Coffee grounds and paper coffee filters
- Paper tea bags (check the packaging confirms no plastic mesh)
- Annual weeds that have not yet set seed
- Nettles and comfrey leaves (both are excellent nitrogen-rich activators)
- Young, soft plant trimmings and green hedge clippings
- Crop waste from the vegetable garden (not diseased)
Good browns to add
- Cardboard, torn into pieces (not shiny or laminated)
- Scrunched newspaper and unbleached paper
- Autumn leaves (in thin layers mixed with greens; very thick layers are slow)
- Dried plant stems, spent bedding plants, and dead seed heads
- Straw and hay
- Wood chippings and small woody prunings from untreated timber (chop or shred if possible)
Coffee grounds are classed as a green despite their colour. Their carbon-to-nitrogen ratio of around 20:1 puts them firmly in the nitrogen-rich category. Add them in thin layers rather than in clumps: coffee grounds compact easily and block air and water from moving through the heap.
Grass clippings deserve a particular note. They are one of the most commonly added materials and one of the most commonly mishandled. Added in a thick layer on their own, they form a dense, airless mat that rapidly goes anaerobic and smelly. Mixed into the heap with roughly equal or greater volumes of scrunched cardboard, torn paper, or dried stems, they are excellent: high in nitrogen and quick to break down.
Autumn leaves
Autumn leaves are a valuable carbon source but they decompose slowly. Large quantities added all at once can form a wet, impermeable layer. Either shred them before adding and mix with greens, or collect them separately in a bin bag or wire cage, moisten them slightly, and leave them for a year to produce leaf mould, which is an outstanding soil conditioner and seed-sowing medium in its own right.
What to leave out
Most garden and kitchen waste can be composted. The materials to avoid fall into a small number of clear categories, each for a specific reason.
- Cooked food, meat, and fish. These attract rats and other rodents, create foul-smelling anaerobic patches as they break down, and can harbour pathogens including E. coli and Salmonella that cold heaps do not reliably destroy.
- Dairy products. For the same reasons as cooked food: very attractive to vermin and prone to creating anaerobic conditions.
- Pet waste. Dog and cat faeces carry pathogens including Toxocara that are not killed in a cold heap and can persist in finished compost.
- Perennial weed roots. Bindweed, couch grass, and ground elder can survive a cold heap and regrow vigorously when the finished compost is spread. Hot composting kills them reliably; cold composting does not.
- Diseased plant material. Tomato haulm with blight, brassica roots with clubroot, and similar should go in the council green waste collection, not the home heap. Cold heaps do not get hot enough to destroy these pathogens.
- Glossy or laminated card and plastic-coated materials. These do not break down and can introduce plastics into the compost.
The four things compost needs
Almost every compost problem is a deficit in one of four areas. Keeping these in mind makes troubleshooting straightforward.
Nitrogen (greens) fuels microbial activity. Without enough, the heap sits inert. Carbon (browns) gives the heap structure and is the primary food source for the microorganisms doing the work. Without enough, the heap becomes wet, slimy, and anaerobic. Moisture is essential for microbial activity, but too much excludes air. The heap should feel like a well-wrung sponge: damp throughout but not dripping. Air keeps decomposition aerobic. Turning the heap is the single most effective action you can take, both to speed up decomposition and to prevent smells.
The moisture test: take a handful of material from the middle of the heap and squeeze it firmly. If water runs out, the heap is too wet. If it falls apart and will not form a ball, it is too dry. If it holds together and releases only a few drops, it is about right.
Troubleshooting
The heap smells of rotten eggs or ammonia
This is the most common problem and almost always means the heap has gone anaerobic. Too many greens, not enough air, or too much moisture has excluded oxygen and allowed anaerobic bacteria to take over. The fix is to turn the heap thoroughly, working the outer material into the centre, and add a generous amount of brown material as you go. Scrunched cardboard is ideal. The smell should clear within a few days.
The heap is slimy and wet
Usually caused by an overloading of wet greens, most often grass clippings, without enough brown material to absorb moisture and create air pockets. Turn the heap and add plenty of torn cardboard, dried stems, or woody material, aiming to work it through rather than just laying it on top.
Nothing is happening
If the heap looks the same after several months, one of four things is usually wrong: the heap is too small (it needs to reach at least 1 cubic metre to retain heat), too dry (add water and mix in some greens), too carbon-heavy (add a nitrogen source such as grass clippings or fresh kitchen peelings), or too cold (heaps slow significantly in winter and largely pause below about 5°C, which is normal). In winter, covering the bin with a piece of old carpet or cardboard helps retain what warmth there is.
Pests
Rats are the main concern in a garden compost bin. They are attracted almost entirely by cooked food, meat, and dairy, so not adding these materials is by far the most effective prevention. A closed plastic bin offers much better protection against rodents than an open bay or homemade wire cage. If rats are already a problem, remove any accessible food sources, check the bin has no gaps, and consider lining the base with wire mesh.
How to tell when your compost is ready
Finished compost has a few clear signs. It looks dark brown and crumbly, resembling rich garden soil. It smells pleasantly earthy, not sour, not like ammonia, and not like rotting material. None of the original materials are still recognisable as what they were. And, if you have been hot composting, the heap has stopped generating heat.
A heap also shrinks substantially over time. It is normal for a well-managed heap to reduce to roughly half its original volume as decomposition progresses. If there are still chunky recognisable pieces of stem or card in the otherwise finished material, sieve the heap and return those pieces to start a new batch.
Cold heaps typically take one to two years from the last addition of fresh material. Hot heaps, with regular turning, can be ready in six to twelve weeks, plus a curing period of four to six weeks before use.
How to use finished compost
Home-made compost is a soil improver rather than a pure fertiliser. Its primary value is in improving soil structure, feeding soil biology, and steadily releasing nutrients over the growing season. The best times to apply it are late winter to early spring, just before the growing season begins, or in autumn on beds that will stand over winter.
- As a mulch. Spread 5 to 10 cm over beds in late winter or autumn. There is no need to dig it in: worms will incorporate it naturally over the following weeks.
- As a soil improver before planting. Fork compost through the top layer of soil ahead of sowing or planting to improve structure and add nutrients.
- In containers and raised beds. Mix home-made compost into potting mix at up to 30 to 40 percent of the total volume. More than this and it can be too rich and too prone to waterlogging.
- As a top-dressing around established plants. A thin layer forked or raked around fruit bushes, perennials, and trees feeds the roots without disturbing them.
- On the lawn. Sieve finely and rake a thin layer into the surface as a spring topdressing to improve both soil structure and grass health.
Small spaces: alternatives to a standard bin
Worm composting
A wormery uses tiger worms (Eisenia fetida) to break down kitchen waste in a compact, enclosed unit. Wormeries work well in small gardens, on patios, and even indoors in an outbuilding or shed. The worms produce two things: rich worm castings, which are an excellent addition to potting compost or a top-dressing for beds, and a liquid feed that can be diluted at roughly one part liquid to ten parts water and applied directly to plants in the growing season.
Feed the worms vegetable peelings, fruit waste, soft plant trimmings, and torn cardboard. Avoid adding large amounts of citrus, onion, or anything cooked. The wormery should stay cool in summer and frost-free in winter: a shaded spot or an outbuilding is ideal.
Suffolk County Council runs a subsidised wormery scheme through the Suffolk Waste Partnership, offering wormeries and accessories to Suffolk residents at reduced prices. It is worth checking current availability before buying at full retail cost.
Bokashi
Bokashi is a fermentation system rather than composting in the traditional sense. Kitchen waste, including cooked food, small amounts of meat and fish, and dairy, which neither worm bins nor traditional heaps can safely accept, is layered with bokashi bran in a sealed bucket. The bran contains effective microorganisms that ferment rather than decompose the material over two to four weeks.
The fermented output cannot be used directly on plants: it needs to be buried in a garden bed, where it finishes breaking down over a further two to four weeks, or added to a compost heap where it decomposes very quickly. Bokashi is particularly useful for households that want to divert all food waste, including cooked scraps, rather than putting it in the bin.
Composting in Suffolk
Two things make composting especially valuable in Suffolk. The first is the soil. Much of Suffolk, particularly the light, sandy Sandlings stretching down the east coast, is naturally low in organic matter and drains quickly in dry weather. Regular additions of home-made compost are the single most effective way to rebuild soil structure and moisture retention over time: this matters particularly in Suffolk’s dry summers, when moisture-retaining organic matter in the soil makes a real difference to how crops perform.
The second is practical support. Suffolk County Council offers subsidised compost bins, wormeries, and accessories to residents through the Suffolk Waste Partnership. Check with your local council for current pricing before buying at full price: reduced-rate plastic compost bins are typically available year-round.
Further reading
-
Garden Organic (gardenorganic.org.uk)
The most thorough UK resource on composting for organic growers, covering hot composting, cold composting, wormeries, and troubleshooting. Their composting guides are built from long-running practical research and include clear guidance on carbon-to-nitrogen ratios, activators, and managing problem materials. -
RHS composting guide (rhs.org.uk)
The Royal Horticultural Society's composting pages cover the full process from bin choice to finished compost, with specific advice on what to include and avoid. Includes guidance on leaf mould as a separate product and on using compost as a mulch versus a soil amendment. -
Soil Association (soilassociation.org)
Guidance on composting in the context of organic soil management, including how compost supports soil biology and the relationship between compost quality and long-term soil structure. Useful background for understanding why composting is central to organic growing rather than just a way to dispose of waste.